Before you start
Everything below is safe to do yourself with the door closed and the opener unplugged where noted. Two things are not on the list and should not be: anything involving the springs, and anything involving the cables or drums. Those hold enough stored energy to cause serious injury and need proper bars and practice.
1. Look and listen first
Run the door through a full cycle and watch it. It should move evenly, both sides rising together, without hesitation at any point. Listen for grinding, which usually means a dry or failing roller; a rhythmic clack, which is often a worn hinge; and a groan from the opener, which means it is working harder than it should.
2. Hardware, with a spanner
A door cycling several times a day vibrates constantly, and fixings work loose. With the door closed, check the bolts on the hinges, the brackets holding the rail to the framing, and the bolts on the rail joints. Snug, not forced — over-tightening strips the hole, particularly in older timber. If a bracket bolt spins in soft wood, the jamb needs attention and that is a job to report rather than fix with a longer screw.
3. Rollers and hinges
Look at each roller as the door moves. Steel rollers wear visibly — flats on the wheel, play in the stem, or a wheel that has stopped turning and is sliding in the rail. Nylon rollers look fine until the bearing goes and they start squealing. Either way, worn rollers are cheap, quiet to replace, and they are the main cause of a door that rattles like a goods train.
4. Lubricate properly
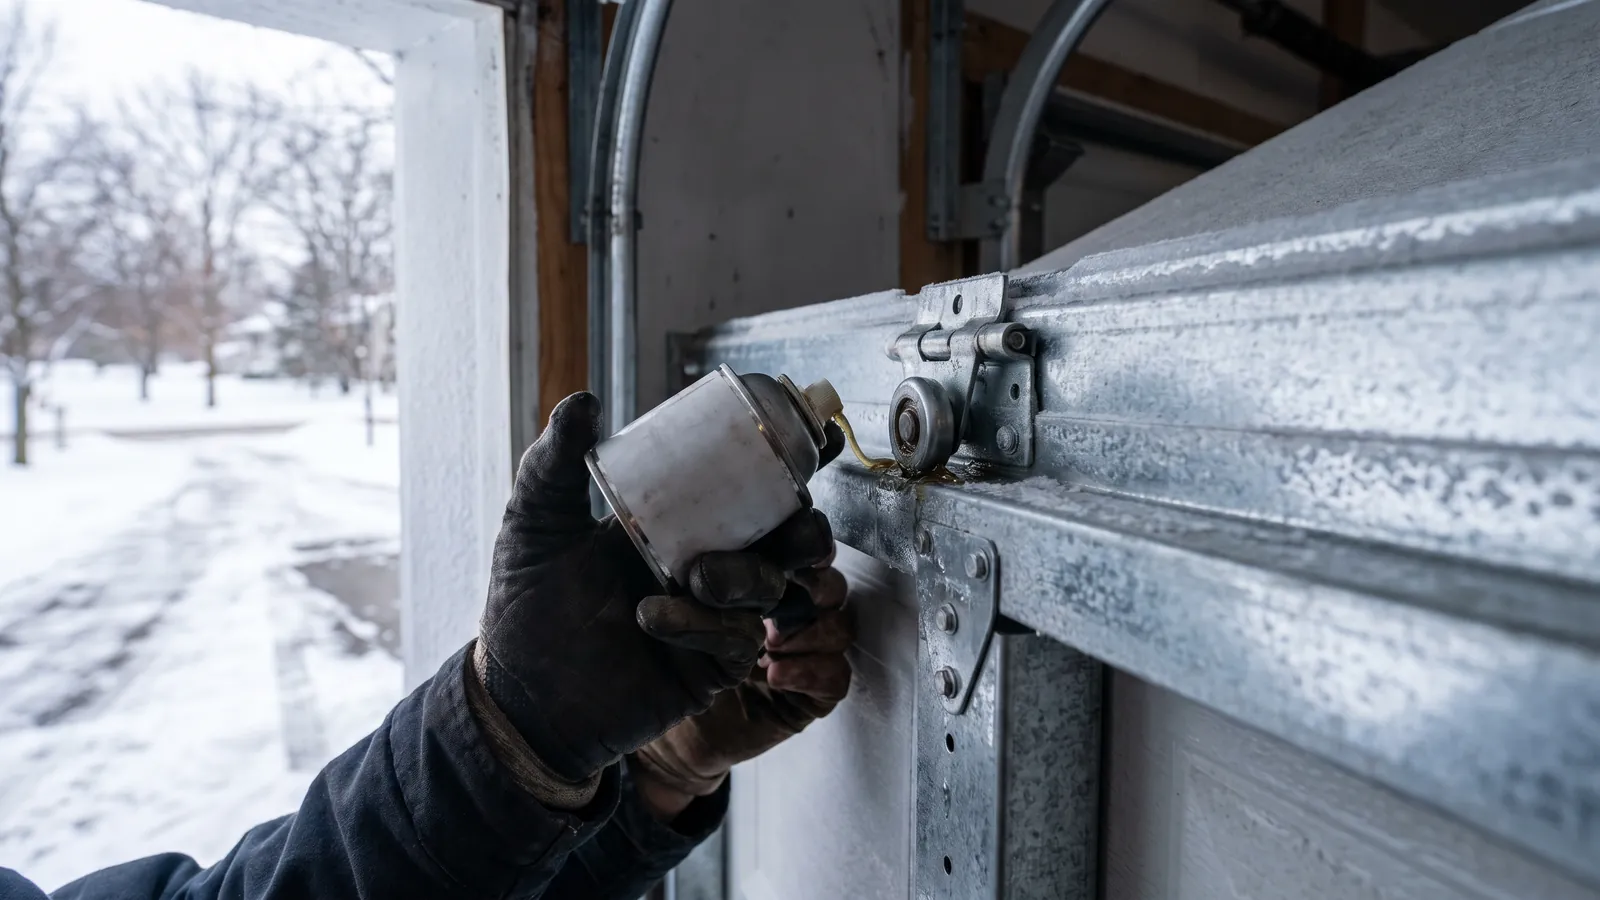
Use a garage door lubricant, silicone or lithium-based. Do not use a penetrating spray such as WD-40 — it displaces grease, attracts grit and makes things worse within months.
- Rollers: a little on the stems and bearings, not on the wheel face.
- Hinges: at the pivot points.
- Springs: a light coat along the coils, which reduces friction between them and slows rust. Do not touch anything else on the shaft.
- Bearings: the end bearing plates either side of the shaft.
- Rail: leave it alone. Tracks should be clean and dry. Wipe them out with a rag if there is debris.
5. The balance test
This is the most informative thing on the list. With the door closed, pull the release cord to disconnect the opener. Lift the door by hand to about waist height and let go.
- It stays put: the springs are correctly tensioned. Good.
- It drifts upward: too much tension.
- It sinks or drops: too little tension, or springs reaching the end of their life. This is the one to act on before winter.
- It feels extremely heavy: stop. A spring may already be broken. Lower it carefully, re-engage the opener and call.
6. The safety reverse test
Lay a flat length of timber on the floor in the door's path — a two-by-four on its side is the standard. Close the door with the opener. It must stop and reverse on contact. Then test the photo eyes: with the door closing, wave a broom handle through the beam. It must reverse immediately.
If either test fails, stop using the opener normally and get it looked at. A door that will not reverse is the one genuinely dangerous fault on a garage door, and the sensors exist because children and pets have been killed by closing doors.
7. Seals and the slab
Close the door, turn off the garage light, and look along the bottom edge from inside. Daylight means a gap. Press the rubber — it should be springy, not hard. Check the side and header weatherstripping for cracks and shrinkage. Look at the slab for standing water and at the drive for a slope that sends meltwater toward the garage.
How often
| Task | How often | Why |
|---|---|---|
| Look and listen | Monthly | Catches changes early |
| Lubrication | Twice a year | Autumn and spring |
| Hardware check | Annually | Vibration loosens fixings |
| Balance test | Annually, in autumn | Predicts spring failure |
| Safety reverse test | Annually | The one that actually matters |
| Seal inspection | Autumn | Before the first freeze |
Common questions
How often should this really be done?
A proper walk-round once a year in autumn, plus lubrication again in spring, covers it for a normal household. A door running eight or ten cycles a day deserves the lubrication quarterly. The balance and safety-reverse tests are the two that should never be skipped.
What lubricant should I use?
A purpose-made garage door lubricant, silicone or lithium-based. Avoid penetrating sprays like WD-40 — they strip existing grease and attract grit, which then acts as an abrasive on the parts you were trying to protect. And never lubricate the tracks themselves; they should be clean and dry.
What does the balance test tell me?
Whether the springs are doing their job. A correctly sprung door stays wherever you leave it by hand. One that sinks is under-sprung, which means the opener is making up the difference and wearing out early. One that feels extremely heavy may already have a broken spring, and that is where you stop and call.
Is there anything I should not touch?
The springs and the cables. Both store serious energy — a torsion spring can break an arm, and a cable under tension snapping back is no better. Lubricating the spring coils lightly is fine; adjusting, winding or removing anything on the shaft is not. Everything else on this list is reasonable to do yourself.
My door rattles badly. What is that?
Usually rollers, and it is the cheapest significant improvement you can make. Steel rollers get loud as they wear, and swapping a set of ten for nylon transforms how a door sounds for around $140 to $280. Loose hinge bolts and a rail that has worked loose from its brackets are the other two suspects.
Related: Winter guide · Weather seals · Safety sensors · Garage door repair